Pages

Monday, February 18

A bit of sky

Cameras just don't do justice to what the eye can capture. At least point and shoot ones can't. Moments before heading to the studio I saw the sky streaked with yellow, pink, and purple. In the photo, it's just all overblown. But in my memory it serves as inspiration. My dye-painted piece has all the reverse applique complete, and now I'm seeding the sky with those streaks of color. I'm loving this piece. The wintryness of it. The high contrast. The crisp edges. There's a little guilt in making something beautiful. A worry that it isn't important or worthy enough.
On the other hand, it's a true impression of cold and winter, and the joy of light, however brief. Here I am huddled into my scarf, my nose and fingers too cold to keep working, and the cold northern light from the studio windows waning, leaving the warmer but weaker artificial lamplight. I can't wait for spring.


Sunday, February 10

The lost art of reverse applique

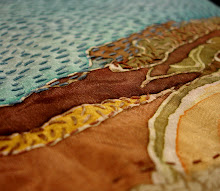
Well, perhaps not totally a lost art, but one worth experimenting with once in a while. I love reverse applique because whereas most stitchery builds UP surface texture, this technique allows you to dig DOWN INTO the surface. There's a subtle sculptural quality to embroidery, and this is another way to push and pull the surface. A look at the sunset sky tonight on my way to the studio inspired me to cut into my dye-painted tree piece to create a line of color to make a horizon.
 To get started with reverse applique, you first need to baste together a fabric sandwich. I enjoy stitching through 2 layers of fabric all the time, and my purple fabric matches the size of the top piece. However, a small patch piece, larger than the area to be cut away by about 1/2 inch all around can be basted to the back of a fabric instead. Select an area to be cut away, separate the layers, and snip the center of the area. Cut to the corners or angles to create flaps that can be folded back. For example, the X-shaped cut above creates a square when the flaps are folded under. I'm doing blind stitching on a turned edge, but a raw edge can be used instead by cutting out the entire shape to its edges and then stitching a decorative stitch over the edge. But back to blind stitch:
 The flaps are folded under to make a turned edge. I added pins to make everything lay flat and lined up, and remove them as I stitch. I thread the needle and come up at a corner between the layers in order to hide my knot. Blind stitch is sort of the reverse of hem stitch. You try to make the tiniest stitch between the layers and travel around in the fold. Wherever the thread is coming out of the fold or the base cloth, you insert the needle RIGHT NEXT to that point in the other layer, then slide along about an 1/8 of an inch:
 Pull tight enough so that the 2 layers touch snugly but without gathering or puckering the fabric. If the cut areas are close together, leaving narrow top layer sections, the flaps may need to be trimmed smaller so that they can still fold under and fit between the layers
 I'm very excited about these blue violet windows into the background. I think once they go all the way across the piece they will help separate snowy ground from cloudy sky. Cutting away to another color also adds more color contrast and drama without having to stitch every bit of the surface, a time saver when doing larger pieces.
I got this far before losing all the light of the afternoon. My lamps help, but just aren't quite enough for lighting my work when working this precisely. It took me about an hour to find a backing cloth, cut it down, baste the pieces, decide to take the plunge and cut into the fabric for the reverse applique, then snip and stitch these 3 lovelies. I can't wait to get back tomorrow and do some more in proper daylight.

Saturday, February 2

First Month

 Well, I managed to clock 20 hours in the studio in the moth of January. I'd like to aim for 40 a month (the equivalent of a regular work week a month, but those kinds of hours are going to have to wait for warmer weather when the building is a little nicer to stay in for longer than an hour!
 In those 20 hours I managed to nearly complete the window portrait I've been working on for over a year. I did some dye monoprinting for the background of a large wall piece and completed a small color study and picked out fabrics for it.
 I also experimented with some dye painting, and started a shibori landscape piece. And yesterday I finally pieced together the shibori and bridge printed piece at the top of this post. I don't feel like I got as much stitching done as I wanted, but my surface design experiments are going well. It's interesting to measure my artistic time and effort. Since I'm paying for the privilege of a working space now, I want to make it worthwhile.
This is a good start.

Sunday, January 27

Midwinter

My fingers felt like these tree branches. The weather has been bitter cold the last week. We had snow on Friday, and it hasn't melted yet. When I got to the studio the thermostat on my space heater said 35 degrees. As I worked, it only got up to 37. I stayed for an hour and stitched a bit. Ironed some things hoping for some residual heat. Finally I gave up when my toes got tingly. I am impatient for warmer days when I can spend more than an hour or two in comfort. The romantic in me imagines artists throughout history working through winter chills.
I brought a small piece home and stitched in my 70 degrees instead. So much for moving all the art to the studio.

Saturday, January 26

Dye monoprinting day!

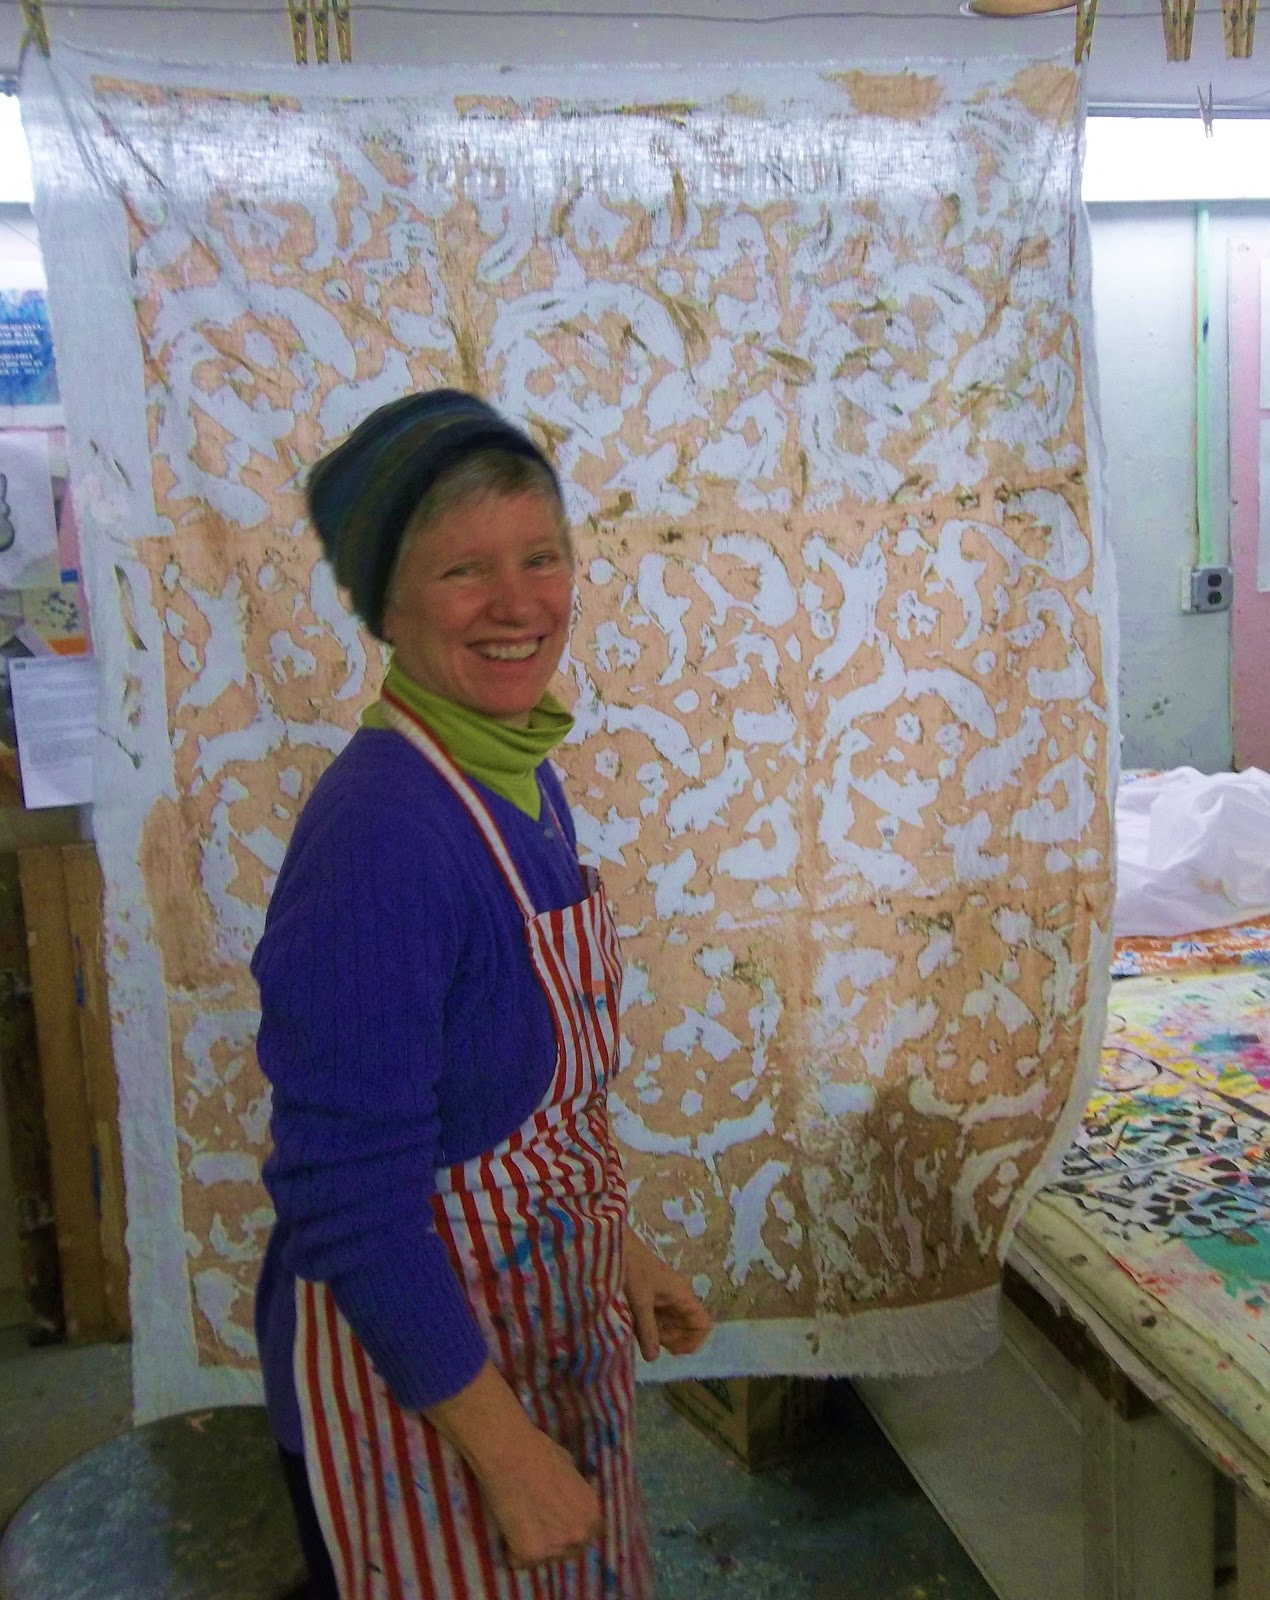
 I have some very proud printers this morning in my Saturday Silkscreen on Fabric class at Fleisher. We started the semester off by preparing our screens for monoprinting by painting sodium alginate and dye print paste directly on the screen. When the alginate dries it creates a resist stencil, but as it is printed it starts breaking down, changing the print as it goes. Since each print is slightly different it's considered monoprinting.
 This is the most ambitious group of silkscreeners I've had yet. They played with mixing dye colors and managed to print a basic repeat. This experiment will help them later on do a proper repeat.

Wednesday, January 16

In progress

Just a little peek at my corkboard in the studio. The shibori landscape has been basted to a background cloth and I started stitching some concentric ovals in the icy water section. The patchwork window is almost done: There's just a little more stitching in the figure left. I might leave it hanging for a while longer- I don't really know if it wants more or not. I started a little grey, white, and green study for a potential new "wall" piece. I really loved the large brick wall in red, cream, and blue I made during grad school, and I want to continue doing some larger pieces. New to my repertoire is working with sodium alginate dye paste. So I did a small winter tree test piece to see how viscous the dye needed to be to paint with. I was surprised how crisp the results were- just a little bleeding on some of the edges. I used up the extra dye paste to do a dye monoprint with silkscreen. I can't wait to get back and rinse out the print repetition I did on Monday.
I'm trying to do some stitching, some surface design every time I'm there. Eventually I want to chuck out all the old interior design samples I've hoarded for the last 7 years, since I really haven' used any commercial fabrics in my work for a very long time. I just want my own materials.

Monday, January 7

working

It's so different, going to a studio to make art versus making art at home. I go and the time is so much more focused and productive. There are no distractions. Everything is in one place, not spread throughout the whole house. I know I have to use my time wisely, so I don't dilly-dally. I've been bringing things over bit by bit, and now there's enough supplies to actually get things going.
I've started a shibori piece inspired by the panorama I took at John Heinz refuge with the trees reflected in the ice. My goal is to do a lot more surface design-based projects. I also started a small applique study for a larger wall piece I'd like to do. And I've finally got back to work on the piece I was working on over the summer. It began as a window, and I debated a long time about putting in a shadow figure. A little organza overlay added a narrative element.  I can't really believe how long this one has been in process since I first pieced and dyed it.
Being in the studio is making things happen. I hope this creative energy keeps flowing, because my biggest fear in becoming an art teacher in a school was the fear of letting go of my artist identity. I want balance between both. This feels so right.....

Saturday, December 29

New Space!!

 I'm so very happy to finally have a studio! I have enough moved in now to start some work. After hauling boxes up the 4 flights of stairs this morning I sat in my new chair and started an ori-nui shibori piece inspired by the landscape panorama in my previous post. I didn't spend a lot of time on it, but just the fact that I sat and made something there felt wonderful!
 One reason I couldn't resist renting the space was because of the great light through the 2 windows, and the view that looked out over Port Richmond to New Jersey. I can see the el and the trains passing, the church near my house, and the Betsy Ross Bridge from my 4th floor studio. It's worth the stairs.
Sometimes the city landscape is too much, though, and I long for trees. After my studio time this morning we headed down to Wyeth country and visited the Brandywine River Museum. The river at sunset was gorgeous. I love driving down Route 1 through the hills. It seems I always come down here at Wintertime when the landscape around Chadds Ford most matches Andrew Wyeth's stark watercolors. I'm filled up with the beauty of his contrast and restrained palette. I think I'm still going to stick with my love for the panoramic.

Thursday, December 27

Quiet

We walked through a crisp and quiet landscape on Christmas Eve. The lake had a thin layer of ice feathered over it, and we skipped stones across the surface, making a hollow echoing ping, ping, ping.

I'm looking for inspiration. Teaching sucks up a lot of creative energy, and I haven't made much besides project exemplars in the last few weeks. (Oh yeah, and Christmas cards) So, the other day in a spontaneous whirlwind, I stumbled upon an opportunity to rent a studio, and so I did. I've been in just to start setting things up, but hopefully some art will be made soon too. Hopefully having a space (something I've desired for over a decade) will help me focus.

In the meantime, Merry Christmas!

Sunday, December 9

Stitch and Surface Wrap-up, Fall 2012 edition

It's been a few weeks now since it ended, but this past semester of Stitch and Surface at Fleisher was truly remarkable. I had some returning students, some trained artists, several art teachers, and some stitch enthusiasts, and they all were bursting with creativity. Plus, once again we were an all female crew, making it a relaxing and sometimes raucous stitch-and-bitch. Heads would pop in from the class across the hall wondering what was going on with all our laughter!
 Everyone made a reverse applique needle book cover in felt as a stitch sampler introduction project. Shapes were cut out of one felt piece, then the "holey" piece was layered over another color, and stitched were done through both layers. When complete, the edges were blanket-stitched, and a blank piece of felt was seamed down the center to make the book. Some chose to add a closure loop or tie.
 Our major project was a stitched self-portrait. We tried out painting with walnut ink as a surface technique. One artist used the walnut ink for a portrait, which was transformed into a portrait of her mother. The piece above incorporated couched dreadlocks, feathers, and cowrie shells, and has intensely colored hazel eyes that are riveting. The artist, Robin Turnage, is a fellow faculty member at Fleisher and a former Leeway Grant recipient.
 Alia's larger-than life-size portrait was very ambitious, and has a more linear approach.
 Best friends for more than 20 years, Nan and Pat decided to each do their own version of a photograph of themselves from college with their mouths stuffed with grapes. It's fun to see how color, pattern, and texture can make an image so different.
 Our final project was a paper stitchery. I demonstrated how to stitch on paper with the picture at the bottom right. I found a painting of a schoolteacher by Winslow Homer in an art magazine, cut it out and glued it onto watercolor paper in order to have a stiffer surface to stitch upon. By pre-piercing the holes it's easy to add embroidery to any image on paper. In the center below, one student found a reproduction of a photo of John Brown and added a red halo or horns depending on how you look at it. And to the left, another student printed out a picture of "The Dude", and added text and completely embellished sunglasses. I really like this doubling of the appropriation tradition of embroidery. It's not just copying a pattern, it's borrowing and adding to another image to make it one's own.
I love my new "embroidery schoolteacher" stitched paper picture ala Homer.
Next semester I hope to do a letter sampler, a whitework valentine, a dye painted landscape, and maybe even some fiber ATC's. If you'd like to join me for an adventure in Fiber Arts visit Fleisher to register now for Winter classes starting January 10. Stitch and Surface runs for 10 weeks on Thursday nights from 6:30-9:30. Hope you'll join me!