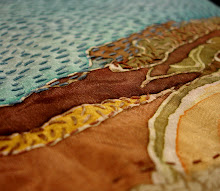
This evening in fiber sculpture we continued working with felt, and I demoed some different construction methods. I showed how to make a fiber armature by wrapping and sewing quilt batting into the desired form to felt over. I'd previously made some millefiori felt beads by layering different colored roving over a felt "snake" and then cutting it down into 1/2 inch beads. So we talked about stringing for jewelry and stacking concentric shapes for relief images. Then I demoed some sewing techniques for constructing stuffed forms. My mini Moby was made by cutting a simple fish shape out of a previously created flat felt sheet. Since I wanted a smooth seam I placed right sides together, sewed a running stitch around the outside edge with a 1/4 inch seam allowance. Stopping about 1 inch from the starting point, I flipped the form inside out (really outside out!), stuffed it with polyfil and used an invisible stitch slip to close the edges. Flippers and French knot eyes complete it. Since the felt has some "give" the stuffing make a more 3-dimensional form than you'd expect from a 2 piece flat pattern. Another way to stitch pieces together would be to use a blanket stitch or binding/satin stitch over the edge. This would create a ridged edge on the outside of the form- like wearing a sweater inside-out. Here's a good tutorial from future girl http://www.futuregirl.com/craft_blog/2007/09/tutorial-hand-sew-felt.aspx Haha! just realized I demoed the stitch in the wrong direction!
Had enough time to create a cobweb felt scarf as well. It only has 2 layers of roving, and it's very fine and flexible.


No comments:
Post a Comment